Sunday, October 30, 2011

I'm NOT Wanda

  
A Grandmother pretends she doesn't know who you are on Halloween.  ~ Erma Bombeck 
   I began my new job the second week of December, 2010.  I realize it takes time to get a new employee set up, so I have tried to be understanding.  But most of the time the customers don't know that I work there!  I don't have a name tag.  I asked and I joked, still no name tag.  I found Wanda's old name tag, added a post it note, and wore I'm NOT Wanda for a day.  No luck.
   So last week I asked Barbara to help me digitize a nametag.  She did it more than once, getting just the right size with the scallops that I liked.  I put it on my jump drive and brought it home.
I did my first sew out on a scrap of cotton.  I played around with a sewing image that I had taken from the software, deleted part of it and reduced the size.  I added my name in the middle and was good to go.
   I have this thing about linen.  I love it.  So I wanted to do the name tag on a linen scrap.  It took a few trials, but I finally got one that was acceptable.  I need to do a little more trimming, but I have a pocket on the back that holds Wanda's name tag, and I can use the magnet to attach it to my shirt at work.
     Can you tell the little design is a spool of thread and a tape measure?  It was really cute, but the design was too dense, in spite of  the fact that I deleted a few layers.  So I hope that this little nametag will hold up until I get a better inspiration!  Now I wonder when I will get the alarm code??
.

Friday, October 28, 2011

From Big Sis to Little Sis

This little Zutano outfit used to sport a red, slightly puckered, KLG monogram for Katelyn.  Rachel liked the outfit and wondered if I could fix it up for Sarah.  I used the petal applique frame and the curlz font to get it ready for little sister. 
I did learn from experience....I used a polymesh  cutaway stabilizer and slid a tear away underneath the hoop before I stitched.  Then solvy on top as I stitched around the outer frame onto the t shirt.  There is a little wobble in the S from the monogram underneath, but other than that I think it is going to suit little Sarah just fine.

Monday, October 24, 2011

Pretty Pillowcases


Don't fight with the pillow,
But lay down your head
and kick every worriment
out of the bed.       ~Edmund Vance Cooke


   This project was so easy that Kathy was able to tell me how to do it on her way to work this morning.  And so, dear friends, I will do my best to relay the process on to you.

     You need  3 fabrics, 3/4 yard of your main fabric, 1/4 yard for the cuff, and 1 and 1/2 inches for your trim.  Press all 3 strips, lining up folds and selvages on top of each other, as closely as you can.  Then use your rotary cutter to even up the selvage edges, trimming the selvages so that each peice is exactly the same width.  Now it is time to make 3 fabric circles.  Since I am still reluctant to use my serger, I did french seams.  You could whip up those circles in no time with a serger, but...oh well.  Then you finish the end of the large tube by serging or seaming, and you have a pillowcase with an unfinished opening.
   Next fold the cuff and the trim, lengthwise, and press, placing the trim on top of the cuff, and matching the raw edges.  Baste the trim to the cuff, then encircle this piece on the outside of the case.   All of your pieces match nicely because you took time to trim them all the same length.  (not in my nature, but boy is this a good idea.)  Sew the cuff and trim piece to the body of your pillowcase, trim the seam and finish it. Again, I had to zig zag because I didn't use a serger.   All done!  As much as I wanted to personalize the cases, I didn't because of the busy fabrics.

   If you get a yard of each main fabric, you have enough for 2 mismatched pillowcases, and I tend to like it that way.  You will need a 3 inch strip for the trim for 2 cases.   Such a nice way to spend a Monday morning!

Thursday, October 20, 2011

Yet ANOTHER navy and orange dress

Listen!  The wind is rising,
 and the air is wild with leaves.
We have had our summer evenings;
now for October eves!
~Humbert Wolf

This is Issa's little jumper from last fall, navy with orange trim.  Sadly, time has run it's course and the jumper no longer fits Issa, but is perfect on Mae Mae .   Mandy asked what I could do, and I had the perfect applique in mind.  I have more than enough of the navy and orange fabrics. so I was able to applique over issa's name.   I used a very lightweight tear away stabilizer so that the front of the dress is not so stiff.  And just like LeAnn says,  I printed out my design first so that I could be sure that the new design covered the old!

WooHoo! Miss Mae has a new jumper.   I like the new version better than the old.  (and I got my photo in right before the rain)

Friday, October 14, 2011

pumpkin patch

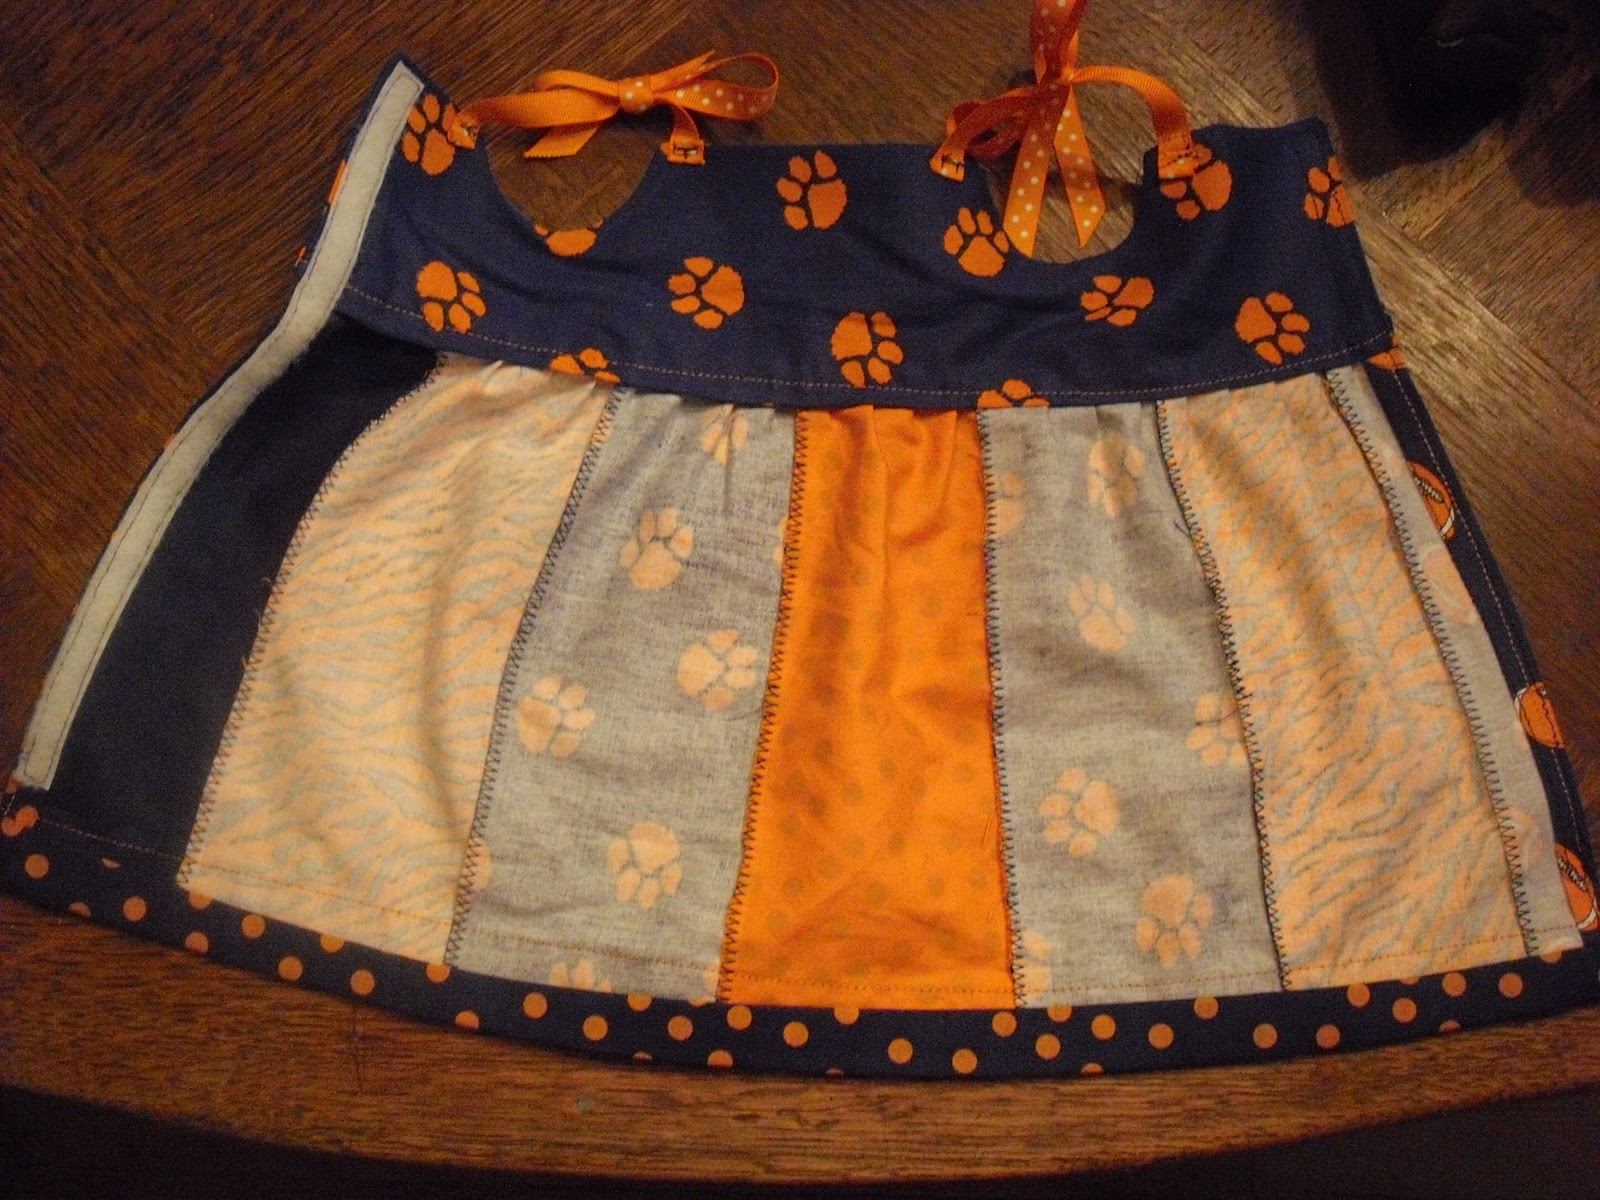
Katelyn and Sarah wore their new t-shirts for Bibi, but Sarah was such a moving target I couldn't get a photo of them together.  Here are the little appliques from planet applique on Target t-shirts, on my birmingham punkins.

Thursday, October 13, 2011

Our Software Sampler

I helped finish this pillow today at the Sewing Center.  Marian digitized the designs using PhotoSnap  in the software.  She sent them to the 830 and then it was just a matter of stitching them out.  That sould have been simple enough, but we decided to stitch them in metallic thread, alternating gold and silver.  ARRRuugggh !  It took forever.  I had to slow down the speedy 830 to a crawl, and even then the thread shredded and broke over and over again.  I finished the little pillow off by stitching down ribbon and rick rack, then stitching the sides of the towel together and stuffing it with a little travel pillow. 

Little buttons finished off the ends of the ribbons.  Software Sampler for Saturday is ready!

Wednesday, October 12, 2011

Oh NO! Even Kirstin is an AUB!


My 3 dear little girls are all decked out in their Auburn dresses.  The latest addition is Kirstin, and I knew the girlies would enjoy being dressed just like her.

   For Kirstin's dress,  I just took a strip of the pawprint fabric, doubled it over right sides together so that I would have a bodice lining, and measured around her chest.  Then I drew armholes, cut them out, and sewed up the back of the bodice, across the top and back down.  I clipped it and turned it and pressed up the lining a half an inch.    I pieced  the skirt just like I did the big girl dresses, sewing together the strips of the various prints.  I used the ruffle foot to gather the strips and added the polka dot strip around the hem.


     Attaching the bodice to the skirt with a straight seam was easy, and instead of buttonholes in the back I used velcro.  I had a long strip of velcro that was a little too wide so I cut it in half lengthwise with a rotary cutter, then attached the long strip on the back bodice and skirt.  The velcro makes it easy for little fingers, even when they are in a pink and green cast, to dress Kirstin.


Oh my goodness, the things we do for love .

Wednesday, October 5, 2011

My arm is FREE!


Wow!  Woohoo!  Now these are not really exciting photographs, but this accessory is going to be a great help when embroidering on my 200.  I hooped a onesie on a 5x7 hoop, snapped it on the adapter and then just slipped it over the free arm with no trouble .  I can envision using it on shirt cuffs, smaller t shirts, and little tote bags.  It was easy to attach ;  the most difficult part was removing the little rubber feet from the bottom of the embroidery module and reattaching the new feet.  Snap and snap and it is good to go!
And, like any Bernina accessory, it is not cheap.  But  I have to believe it is going to be worth the money when I consider the savings in hooping woes and embroidery angst!

Tuesday, October 4, 2011

Candy Corn and a Pumpkin

"Come little leaves," said the Wind one day.
"Come to the meadows with me and play.
 Put on your dresses of red and gold; 
 for summer is past
and the days grow cold."
               ~George Cooper
                                                                                                      
Here are two more appliques from the group that I just purchased from Planet Applique.  I actually figured out a process that works best for me when using Solvy on an applique.  I stabilize the back with a fusible polymesh in beige, then slip a tearaway under the hoop before I begin to stitch.  I let the machine stitch out the placement and zig zag, then before it does the satin stitch, I put down a layer of solvy.  No Wrinkles!

The detail on these appliques is nice, you cannot see in the photograph, but there is a layer of topstitching on the satin stitch, and it is a nice finish.

I  learned a lesson  from Mae Mae's candy corn applique.  I worried about the white tip of the corn on the white t-shirt when I couldn't find a darker shirt, but as it turns out I was more disappointed in the orange lettering on top of the orange polka dot.  It doesn't seem to bother Mae Mae one bit, though.
What does bother her is wearing a shirt that says "Katelyn."  When she entered the kitchen and saw the shirt she shouted "Katelyn" and ran to the den, thinking that she would see her cousin.  When I explained that Katelyn was in Birmingham and that I only wanted her to model the shirt, she was more than a little disappointed!


Monday, October 3, 2011

Arachnid applique

I ordered some new appliques from Planet Applique and Issa chose the little girl spider.  I like the contrast of the black spider on the white t-shirt ; and Issa loves it.  I had enough of the black and white gingham to make a  pair of elastic waist pants, and added a little white ruffle to the bottom of the legs. This afternoon as I watched her enjoying ICarly on the Disney Channel, I got a little sad wondering just how much longer an applique and elastic waist will please her.
I used the Bernina #86 foot, the Ruffler, to make the strip of ruffle to add to the bottom of the pants.  I am not sure I will gather anything ever again.  This foot may look like a torture device, but it is a quick and easy way to make yards and yard of ruffles. Attaching the large foot is a little cumbersome, especially since all the others go on with just one hand, but you have to make sure that the big hook goes over the screw while the cone in the back goes in the proper place.   After you have done it a couple of times it is simple! I have figured out that when you fold a strip of fabric lengthwise, it works better to really press it so that the foot feeds both layers well.  I changed the lever for it to tuck every 6th stitch, and  turned the screw in the front to lessen the depth of the pleat.
And I was just thinking that I have come full circle.  My days of snug zippers are gone, and I once more have an appreciation for pants with an elastic waist!